— 8 —
— 10 —
— 11 —
— 9 —
6 — Now comes the turn of the buffing: pass the buffer covered with soft leather twenty times over the edges of the nail, to polish its surface before the polish goes on.
7 — You need the hot water and soap to wash the nails with care, using a small brush; then dry them.
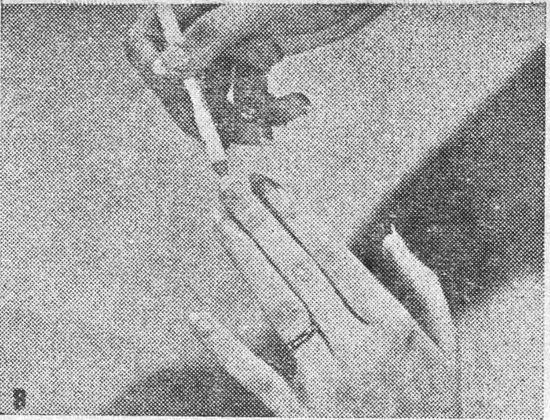
8 — You can clean under the nail with a sharp-pointed stick, and after this comes the turn of the nail-whitening preparation, so that the color of the polish on the nail will not vary.
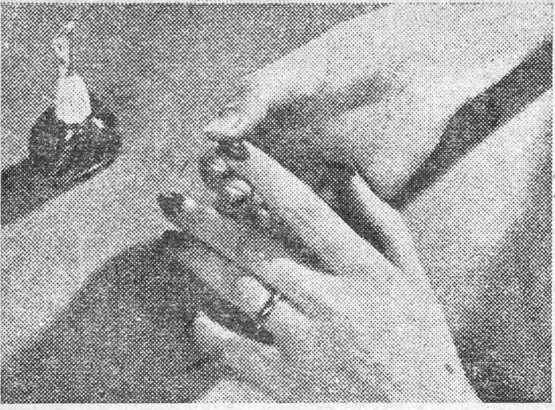
9 — No doubt you want the "manicure" to last longer and be in better condition, so paint the nails with a first coat of it, using no more than is needed, and let the polish dry well.
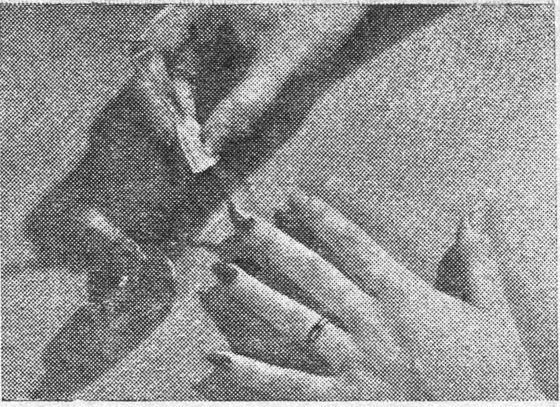
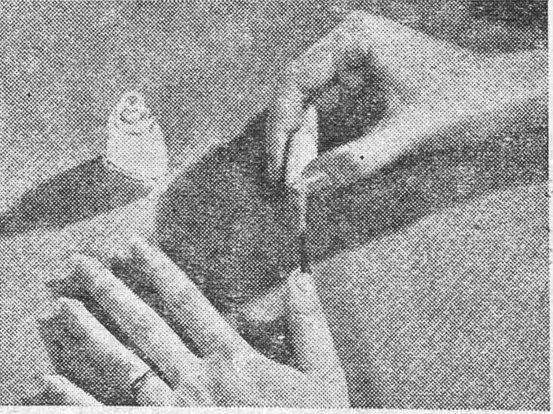
10 — Paint each nail with two strokes: the first covers the lower part and one side of it, and the second begins from the tip of the nail to fill in its surface (of course, you must wipe the brush against the edge of the bottle each time you take up polish). When the first coat is quite dry, add the next after its fashion, testing the dryness of each coat by running your thumb over the edge of the nail.
11 — The third and last coat of
polish adds to the nail's gleam and preserves the "manicure" longer, so that in its beauty and elegance it looks like a sparkling jewel. It is advisable to let your hands rest for half an hour or more
after this operation, so that the polish acquires resistance to any harm, keeps its luster, and lasts the longer.
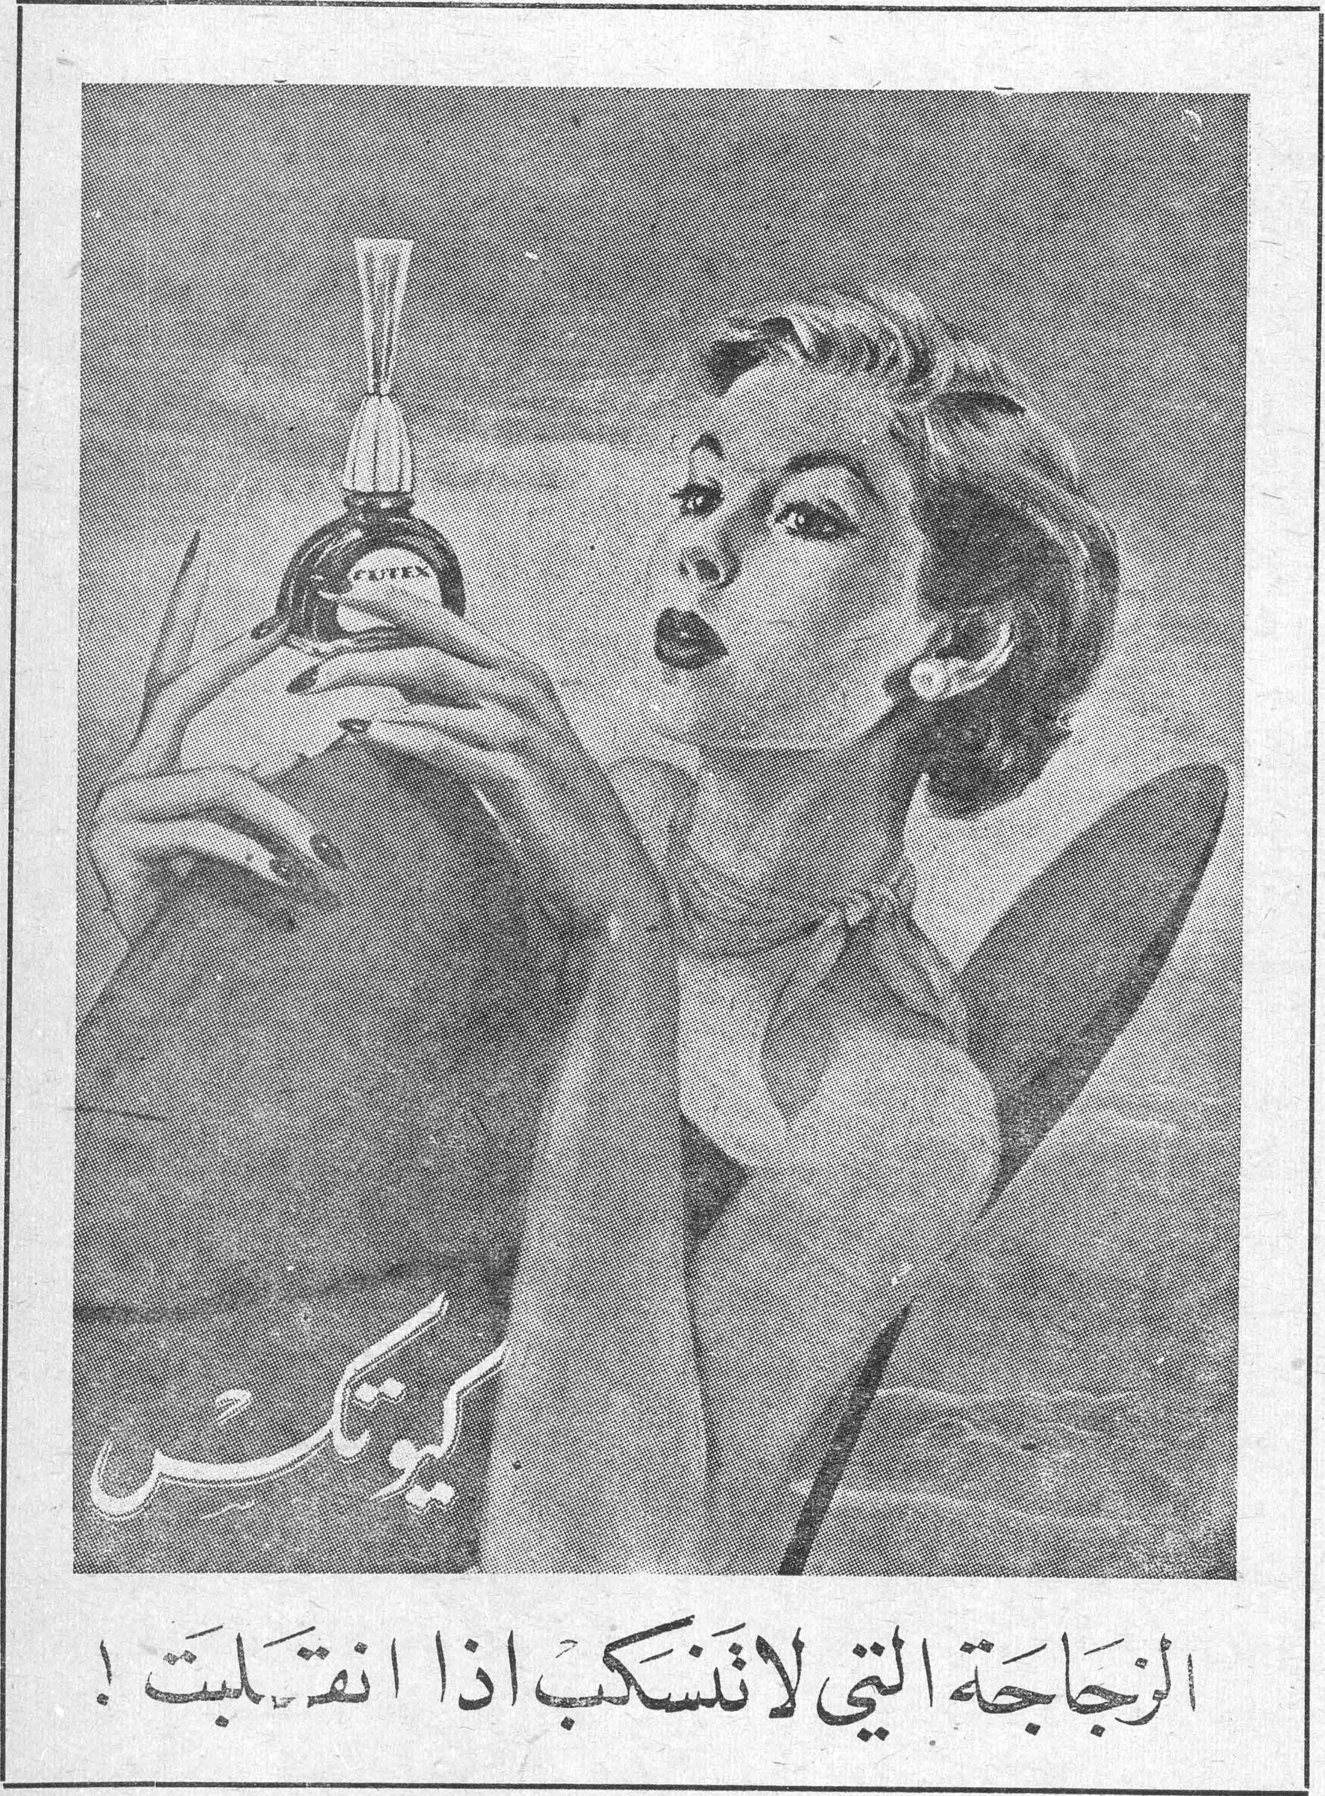
Cutex
The bottle that does not spill if it tips over!